Introduction to the Apple Watch Series 10
The Apple Watch Series 10 has arrived, and it’s packed with features that blend style and functionality. Whether you’re an avid fitness enthusiast or someone who appreciates the convenience of technology on your wrist, this smartwatch promises to elevate your daily routine. With its sleek design and powerful capabilities, setting up your new device is the first step towards unlocking its full potential.
But where do you begin? From unboxing to customizing watch faces, we’ll guide you through every stage of getting started with your Apple Watch Series 10. Get ready to discover how this remarkable gadget can seamlessly fit into your lifestyle!
Unboxing and Setting Up Your Apple Watch
Unboxing your Apple Watch Series 10 is an exciting experience. As you lift the lid, you’ll find the watch nestled in its elegant packaging. The design immediately catches the eye, showcasing Apple’s signature sleekness.
Carefully remove the watch from its box and set it aside for a moment. Underneath, you’ll discover the charging cable and documentation. Take a look at the quick start guide to familiarize yourself with essential features.
To set up your device, place it on your wrist and hold down the side button until you see the Apple logo. Next, grab your iPhone and open the Apple Watch app. Follow simple prompts to pair your devices seamlessly.
As everything connects, feel free to explore customization options right away. Your new smartwatch is now ready for action!
Customizing Your Watch Face and Features
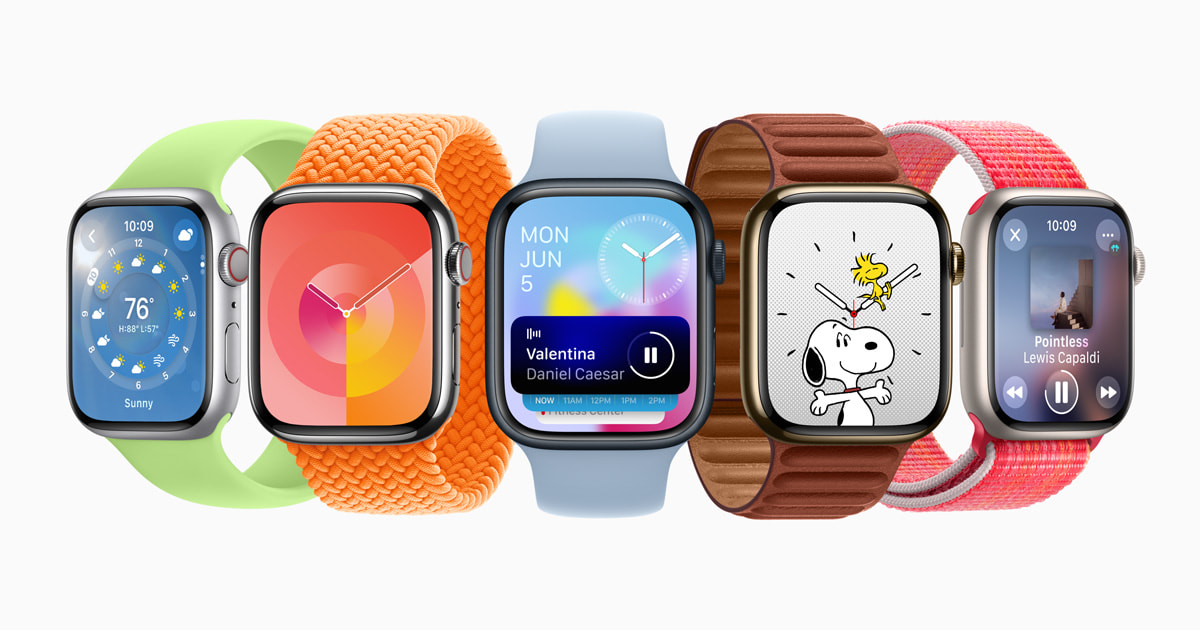
Customizing your Apple Watch Series 10 is one of the most enjoyable aspects of owning this device. With a variety of watch faces and complications, you can make it truly yours.
Start by pressing firmly on the current watch face. This will bring up a gallery of options to choose from. Whether you prefer minimalistic designs or vibrant colors, there’s something for everyone.
After selecting a face, consider adding complications—small widgets that display information like weather updates or fitness stats. Tap on “Edit” to rearrange them according to your needs.
You can also adjust settings such as color schemes and styles within each face option. Don’t hesitate to experiment until you find the perfect combination that reflects your personality and lifestyle.
Every time you check the time, you’ll enjoy a glance at something uniquely tailored just for you.
Managing Notifications and Apps
Managing notifications on your Apple Watch Series 10 can significantly enhance your experience. Start by customizing which alerts you want to receive. Open the Watch app on your iPhone and navigate to Notifications. Here, toggle settings for each app according to your preferences.
For a clutter-free experience, consider muting notifications during specific hours or using Do Not Disturb mode when needed. This feature allows you to focus without distractions while still keeping essential alerts accessible.
Apps play a crucial role in maximizing functionality. Download your favorite apps directly from the App Store on your watch or through the paired iPhone. Organize them into folders for easy access.
Remember that not all apps need constant notifications. Prioritize what’s important so you can enjoy seamless interaction with your device without feeling overwhelmed by pings and buzzes throughout the day.
Utilizing Health and Fitness Features
The Apple Watch Series 10 is a powerhouse for health and fitness enthusiasts. With features designed to help you track and improve your wellness, it’s more than just a stylish accessory.
Begin with the Activity Rings. These colorful indicators motivate you to stand, move, and exercise daily. Closing those rings becomes an addictive challenge that keeps you engaged.
Next up are the workout modes. Whether you’re running, cycling, or doing yoga, you’ll find tailored settings that track metrics like heart rate, calories burned, and distance traveled. The watch can even detect when you’ve started exercising automatically.
Don’t forget about Mindfulness features! Guided breathing sessions help ease stress during hectic days. Tracking sleep patterns also offers insights into how well-rested you really are.
Utilize notifications for reminders to hydrate or take breaks from sitting too long. This holistic approach ensures that your health stays front and center in your busy life.
Connecting Your Apple Watch to Other Devices
Connecting your Apple Watch Series 10 to other devices opens up a world of convenience. Start by ensuring Bluetooth is enabled on both your watch and the device you want to connect.
For iPhones, simply open the Watch app, tap “Pair New Watch,” and follow the prompts. The pairing process is intuitive, with visual guides appearing on-screen to assist you.
You can also sync your watch with AirPods for seamless audio experiences. Just put them in your ears while using a compatible app like Music or Podcasts; they should connect automatically if they’re nearby.
Don’t forget about HomeKit-enabled devices! Control lights, thermostats, and more right from your wrist. With compatible apps installed on both devices, integration becomes effortless.
Explore third-party apps that enhance connectivity further—think smart home systems or fitness trackers beyond Apple’s ecosystem. Each connection enhances functionality in exciting ways.
Tips and Tricks for Maximizing Your Experience
To get the most out of your Apple Watch Series 10, explore Siri integration. Voice commands can simplify tasks like sending messages or setting reminders.
Don’t overlook the customizable action buttons. Assign frequently used functions for quick access and enhance your efficiency throughout the day.
Explore the App Store specifically for watchOS-compatible apps. Fitness trackers, productivity tools, and even games can amplify your experience.
Battery management is crucial; try enabling Low Power Mode when necessary to extend usage during busy days.
Personalize notifications by prioritizing important alerts over others. This keeps distractions minimal while ensuring you stay informed about what matters most.
Regularly update watchOS to enjoy new features and security enhancements as they become available. Keeping your device up-to-date guarantees an optimal experience with the latest innovations from Apple.
Troubleshooting Common Issues
Despite its advanced technology, the Apple Watch Series 10 may encounter some hiccups. One common issue is connectivity problems. If your watch isn’t syncing with your iPhone, try toggling Bluetooth off and on or restarting both devices.
Battery drain can also be frustrating. Check which apps consume the most power in your settings. You might need to limit background activity or adjust brightness levels for a better battery life.
If you notice performance lag, a simple restart often helps restore functionality. Hold down the side button until you see the Power Off slider.
For software glitches, ensure that you’re running the latest version of watchOS by checking for updates in the Watch app on your phone.
If notifications aren’t coming through as expected, revisit notification settings to confirm they’re enabled for each app you want alerts from.
Conclusion
Setting up your Apple Watch Series 10 can feel overwhelming at first, but with this guide, you’re well on your way to mastering its features. From unboxing to customizing faces and managing notifications, each step enhances your experience.
Embrace the health and fitness tools that make tracking goals a breeze. Connecting with other devices opens up even more possibilities for convenience and efficiency. Use those tips and tricks to elevate how you interact with your watch.
If issues arise, remember troubleshooting is often straightforward. With patience and practice, you’ll soon find yourself navigating through all the capabilities of the Apple Watch Series 10 like a pro.
Your journey into wearable technology starts here—enjoy every moment as you explore everything your Apple Watch has to offer!